Wednesday, December 2, 2020

Browned butter and whipped cream banana cake

A few weeks ago I promised my FaceBook followers a banana cake was coming. I didn't think it would take this long, but I got distracted, as I often do, with one of 100 other things that swirl in my mind at any given moment. 

Some of my favorite ingredients come out to play in this recipe: browned butter, more browned butter and a last minute fold in of whipped cream that makes this one a little extra special.


While I made this one into a layer cake, it also works just fine in a 9" x 13" pan. If you don't feel like dealing with cake layers, go with the 9" x 13" pan, where you can frost it, and serve it from. Easy, easy.


Browning the butter is the key here. You will want it browned to a golden color. It will darken as it cools, and that's okay. Don't go too dark in the pan. Golden is what you want when you transfer it from the pan to the bowl. Once the butter is browned, it takes a while to cool and come back to room temperature. From there it needs to solidify again, so don't rush it.


First things first, if you've never checked your oven for temperature consistency, I suggest you do. Making cakes from scratch requires a lot of things to work just right, and a dependable oven temperature is one of those things. In my oven, in order to maintain 350 degrees throughout baking any cake, I need my oven set to 400 degrees. Not the case if I make cookies, roast vegetables, etc., but if I bake a cake, the temperature wants to drop. You may be surprised at just how many ovens are out of calibration. A $12.00 oven thermometer will help you determine at what temperature your oven is actually baking/cooking your food.


We will brown all the butter at once (the butter for the batter and the butter for the frosting). It's just easier that way.


I learned long ago that weights in baked goods are far better than measures, so if you don't have a scale that measures in grams, this is the time to get one.


Ingredients:


Cake:


170 grams browned butter, cooled and re-solidified (I recommend Land O' Lakes for browning - it has less water content than other butters, and browns nicely)

375 grams all-purpose flour

1 teaspoon baking powder

1 teaspoon baking soda

1 teaspoon salt

1 teaspoon cinnamon

1 cup granulated sugar

1/2 cup brown sugar

4 eggs, at room temperature

3/4 cup buttermilk, at room temperature

1 teaspoon vanilla extract

3 ripe bananas, mashed really well (use a blender, if you have one)

1/4 cup whipping cream


Frosting:


110 grams browned butter, cooled and re-solidified

8 ounces cream cheese, at room temperature

2 teaspoons vanilla

1 tablespoon whipping cream (or half/half, or whole milk)

2 cups powdered sugar


Optional:


1/2 cup chopped pecans


Directions:


If you are using a 9" x 13" pan, butter the pan. Set aside. If you are using round cake pans, butter the pans, and line them with parchment paper. Run a 3" wide strip of parchment paper around the sides, so it reaches about an inch over the pan rim. This will keep any batter from spilling over the edge.


Set a medium sized metal bowl on a heat proof trivet. Set aside.


In a medium saute pan, over low heat, begin browning three sticks of butter. The butter will first melt, then bubble and spatter just a bit. At this point, the water content is cooking off. Whisk continually, using a rubber spatula to keep any browning bits from sticking to the sides and bottom of your pan. As the bubbling ceases, and the butter begins to foam, watch for the milk solids to begin darkening. Look for a rich, golden color to develop. It happens fast, so keep watch. Once you've reached that rich, golden color, *immediately* transfer the browned butter to the small metal bowl you set aside. Make sure you use a rubber spatula to get all the browned bits from the sides and bottom of the pan. This is the best part. Set your browned butter aside to cool and re-solidify.


Once the browned butter solidifies, preheat oven to 350 degrees (remember what I said about accurate temperature? This is the time to check, if you haven't already).


To a large mixing bowl, sift flour, baking powder, baking soda, salt and cinnamon together. Set aside.


To the bowl of your stand mixer, add 170 grams of the solidified browned butter. Transfer the remaining browned butter to a lidded bowl. Cover and set aside.


To the 170 grams of solidified browned butter, add the sugars. On medium speed, mix the butter and sugars until smooth and creamy looking, 1-2 minutes. Add eggs, one at a time, and mix until *just* incorporated. Do not overmix. Alternating buttermilk with your dry ingredients, add 1/3 of each and mix on low. Make the next addition after the prior addition is *just* incorporated. Again, do not overmix. Overmixing can cause your cake to rise too much, and fall when it cools.


Stir in the bananas.


To a small bowl, add the whipping cream. On high speed, using an electric mixer, beat until soft peaks form. Fold the whipping cream into the batter gently, then pour batter into your prepared pan(s).


Immediately place the cake filled pans into the pre-heated oven. Bake until cake is golden brown, and passes the toothpick test, 45-60 minutes for a 9" x 13" pan, a little less for round cake pans.


Remove the cake(s) from the oven, and place on a cooling rack. If you plan to remove the cakes to invert/frost, let them cool in the pan for 30 minutes before removing. This is why I suggest the parchment paper. Without it, cooling in the pan for 30 minutes could cause the cakes to stick.


Prepare the frosting. To the lidded bowl with the 110 grams of browned butter (it may be more or less, don't stress about it, just use what you have, it will be enough, I promise) add the cream cheese, and with a hand mixer, mix on medium speed until creamy. Add vanilla and whipping cream, and mix until well combined. Add powdered sugar, 1/2 cup at a time and mix until well combined.


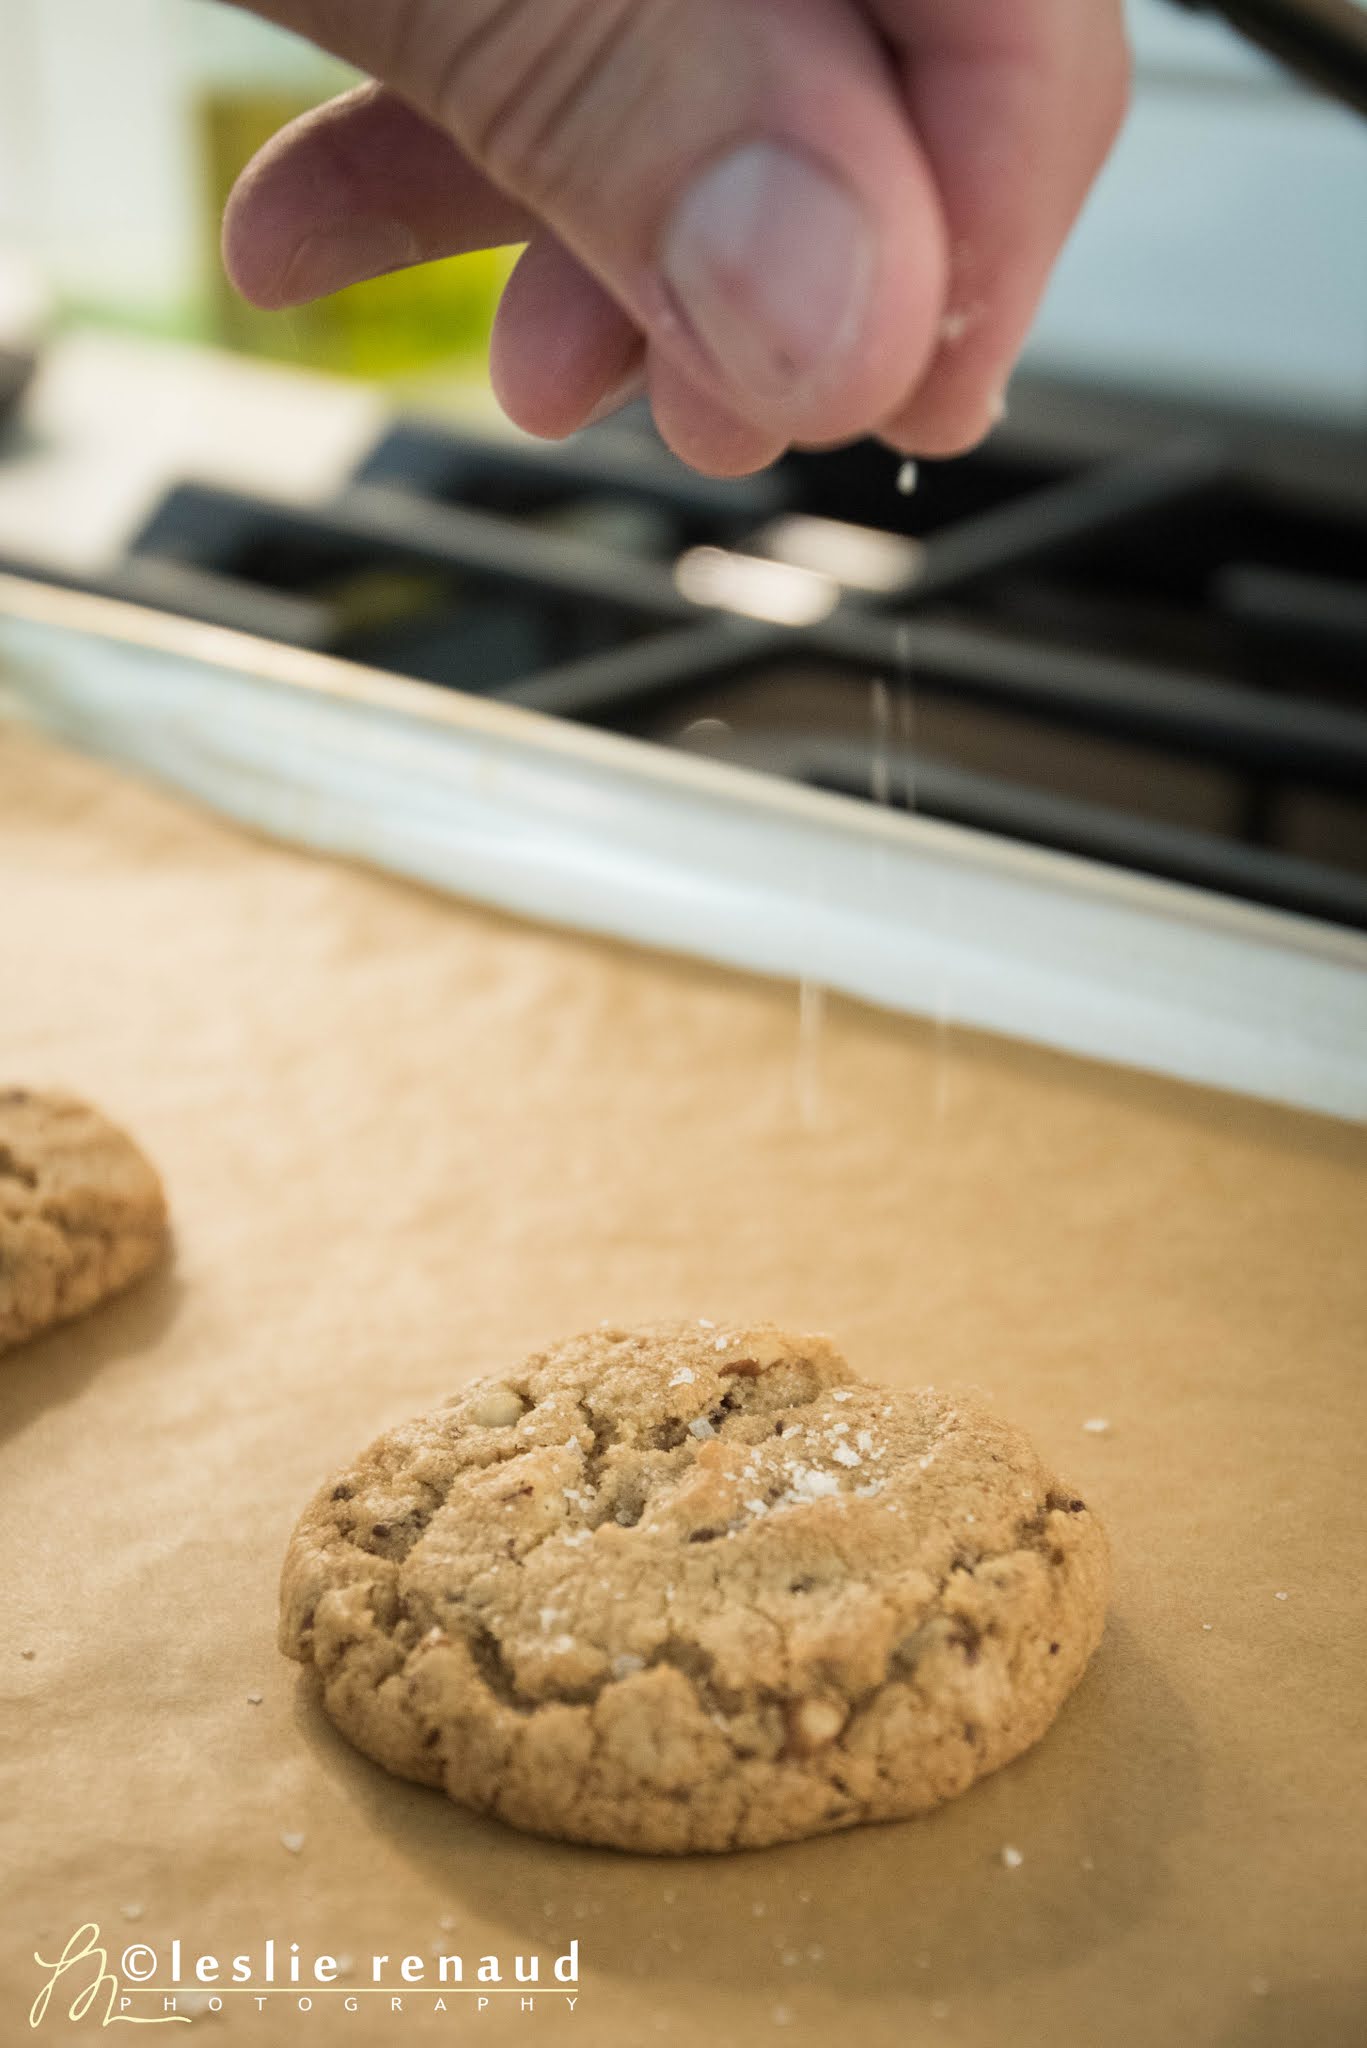
Once the cake is fully cooled, frost as desired. Top with the chopped pecans, if you are using them. The cake can be left out the day of baking, but leftovers should be stored in the refrigerator, in an air tight cake carrier, or a pan covered with plastic wrap.


It's a flavorful, light cake...I hope you enjoy it.


Sunday, September 13, 2020

Teriyaki beef jerky

This is my favorite beef jerky recipe, by far, but I will admit, I do not like strongly flavored beef jerky. I like a good flavor, but I want the beef flavor to come through, too, and I don't want it too salty, either.


I first start by slicing the beef into about 1/8" slices. They are probably somewhere between 1/8-1/4". I use my meat slicer, and set it on 5 (which tells you absolutely nothing!), so the actual thickness is my best guess. It doesn't really matter, though. Cut it as thick or thin as you like. The thinner you go, the less pliable it will be when dried. I like mine pliable and chewy. Make sure you cut across the grain. It's a lot easier to eat beef jerky that's been sliced across the grain.

In my experience, the best meat for jerky is eye of round. It's cheap, and lean. Two things you want in good beef jerky. A quality piece of beef is wasted on jerky. I buy my eye of round in 6 lbs. cuts from Smart Foods, a restaurant supplier. It's usually right around $2.00/lb. If I'm lucky, it goes on sale.

Beef jerky generally dries to about 1/3 it's original weight, so a 6 lb. eye of round will make about 2 lbs. of jerky.

After I slice my eye of round, I put it in gallon size Ziploc bags. I usually need two bags. 

For the marinade, I use my teriyaki sauce with just two adjustments: I cut the cornstarch and water in the recipe by half, and for a 6 lb. eye of round, I double the recipe. After I simmer the sauce, I let it cool to room temperature. I then add half the sauce to one bag of meat, and half to the other. I seal the bags, then lay them out on a cookie sheet and into the fridge for 48 hours. To make sure every piece is getting a good swim in the drink, I slosh the meat and marinade in the bags 2-3 times/day.

When it's time to dry the meat, I drain it on baking racks I set in the bottom of my sink. A colander works for this, too. While it drains, I set up the dehydrator.


I have a simple Presto dehydrator. I've had it for years. It was cheap, and it works great. I see no need for an expensive one.

There is really only one trick to jerky. Don't over or under dry it. It took me a while to figure out how to tell when it's done, and for me, it's about color, cracks and pliability. When it's getting close to done, the color turns much darker. When you bend the jerky, where the connective tissue is, it will be white, almost spider web-y looking. Check both sides. They should both have that spider web look.


The meat will still be pliable, but you will be begin to feel a more resistance. When you get to that point, it's done, or very close. You can go a little longer, if you wish, but be careful you don't go too far. If you do, you risk tough, dried out meat that's a little rough on the jaws.

I think anyone who makes jerky has to do one batch of overly dry jerky to fully appreciate finding that sweet spot of doneness. None the less, I've never had to throw away jerky, no matter how dry.

After drying, in theory, it's shelf stable. I still keep mine in the fridge. I've kept it in the fridge for a week with no issue. I've never had it last longer than a week, so I can't tell you how long it will last beyond that. I suspect a couple weeks, but if you have jerky sitting in the fridge beyond a week, you need more meat-loving friends.

Marinated cucumber salad

Tired of lettuce based salads, and a long time lover of cucumbers, I decided it was time to switch up the salad routine around here, and bump us from our lettuce rut. Enter my marinated cucumber salad. All the freshness of summer, with the sweet citrus flavors of an orange and poppy seed marinade.


This salad is best made the day before you wish to serve it, and marinated overnight. The longer marinating time allows for the vegetables to soften slightly, and for the flavors to marry well.

The grape tomatoes are firm, and allow for a little 'burst' of flavor. They also look great, and add a lot of beautiful color to the dish.


Ingredients:

Salad
1 large cucumber, edges forked, and thinly sliced
10 ounces of grape tomatoes, halved
1/2 red onion, halved, then thinly sliced
1 ripe avocado, diced
3/4 cup crumbled feta cheese
Basil leaves

Dressing
2 ounces olive oil (I use Barouni olive oil from Joelle)
2 ounces white vinegar
1 teaspoon honey
1 tablespoon orange juice
1/2 teaspoon poppy seeds

Directions:

Into a gallon Ziploc storage bag, add all your prepared vegetables.


Add the dressing. Press to remove most of the air from the bag, and toss the bag to coat its contents. Marinate overnight, or at least 12 hours. Turn the bag over a few times as it marinates, to make sure all vegetables in the bag get a nice 'swim' in the marinade. Prior to serving, transfer salad to a decorative bowl, toss, garnish with basil leaves and sprigs, and serve as a side to any grilled meat or other main dish.

Brown Butter Buns...

In our house, the cookie dude is not me. My husband has taken on that role, and has tweaked and massaged his recipes to the point of perfection. This recipe is probably his crowing glory, though his peanut butter cookies are legendary.

For me, baking cookies is like making 3 dozen tiny cakes. I'd rather make one big one, and call it good.

Two ingredients make these cookies the powerhouse they are: browned butter and sea salt flakes.

If you are unfamiliar with how to brown butter, I suggest you take a look on YouTube for a tutorial. I could provide one here, but there are plenty online. The trick with browning butter is to refrain from going too far. It will go from nutty perfection to cremate faster than you can take a breath to say, "oops". The second it reaches your desired level of "brown", you must get it out of the pan you just heated it in, and make sure to use a silicone spatula to get all the browned bits up from the bottom and sides of the pan. If it goes past nutty perfection to cremate, it will smell burned. Don't use burned butter. It will ruin your cookies. Start over. Better to under brown your butter vs. over brown it in this recipe.

I suggest Land O' Lakes butter anytime you need to brown butter. It has less water content than less quality butters, and won't spatter. Both will work, but our best results with this recipe are a direct result of Land O' Lakes.

I also say this with every dessert recipe I share: don't substitute ingredients. It's dessert. It's not meant to be healthy or sugar-free. There are superb sugar-free recipes online. This isn't one that's meant to be sugar-free. *However*, I am always prepared for someone to create a sugar-free version of one of my recipes and prove me wrong. I welcome it! But if you want stellar results, follow the recipe as is.

Once you have your browned butter, it must cool to room temperature, completely. If it's still warmish, let it set until it's completely cool. Once it's completely cool, here's the recipe that will change the way you think chocolate chip cookies should taste. At the recommended size, this recipe makes approximately 5 dozen cookies:

Ingredients:

260 grams all-purpose flour*
1-1/2 teaspoon baking soda
1/2 teaspoon salt
200 grams solidified browned butter, at room temperature (roughly 2-1/4 to 2-1/2 sticks, but weigh it)
300 grams dark brown sugar (light brown works, too, dark just makes for richer flavor)*
1/2 cup granulated sugar
1 egg + 1 egg yolk
2 teaspoons pure vanilla extract
1-1/2 cups semi-sweet morsels
1 cup chopped pecans or walnuts (we use pecans)
Sea salt flakes

*If you are not using nuts, increase flour to 270 grams

Directions:

Preheat oven to 350 degrees. 

Combine the flour, baking soda and salt in a small bowl, stir and set aside.

To a stand mixer fitted with the paddle attachment, add browned butter and sugars. Mix on high speed until smooth and creamy - about a minute. Reduce speed to medium, add egg + yolk and vanilla. Mix until just combined. Reduce speed to low and add chocolate chips and nuts and mix until just incorporated.

Roll into 1-1/4" balls, or use a 1 tablespoon scoop, slightly rounded (that's what the cookie dude in this house does), place on a parchment paper lined cookie sheet, and bake until *very* lightly golden around the bottom edges, approximately 11 minutes, but oven temps vary, so watch them.

Remove from oven and immediately sprinkle with a few sea salt flakes.

Allow to cool for 2-3 minutes on the cookie sheet, then transfer to a wire rack to cool a bit more. Do yourself a favor, and eat them warm.

The cookie dude recommends scooping all the dough balls onto a parchment paper lined cookie sheet, covering with plastic wrap, and freezing until solid. Once frozen solid, transfer dough balls to a large Ziploc bag, and store in the freezer. When you want cookies, bake just the number of dough balls you will eat fresh from the oven. No more day old cookies! I whole-heartedly concur with his recommendation!

Ollas for the garden - part two

The finished project was pretty straightforward to wrap up. Unfortunately, with fires raging in our state, and other areas of focus, I wasn't great about images for part two, so for that, I apologize.

As I mentioned in part one, the top pot is completely water sealed. I used Rustoleum Ultra Clear water sealant. It worked like a charm.

I used two coats on the inside, and two coats over the paint on the outside, though I added the outside coats over the painted surfaces after I'd adhered the pots together. I left the rim bare of both paint and sealant, because I felt it would create a better seal with the silicone, and it did.

Before adhering the two pots together, the drain hole in the bottom, unglazed pot must be plugged. You can do this several ways, but in my experience, the best option is to tape off the hole from the outside, then add about 1/2" of concrete into the bottom of the pot. I have also used hot glue, which works okay, but I don't think it's a long term solution.

To adhere the two pots together, I smeared a thin layer of silicone on the bare rim of the top pot, making sure to completely cover the entirety of the bare rim. I then ran a bead all around the rim on the bottom pot. I upturned the top pot, and set it on the bottom pot. I then ran another bead around the outside edge, and smoothed it with my finger. I used painter's tape to create an edge, so it wouldn't look sloppy, but this wasn't really necessary.

In the images I've included in this post, the top pot hadn't yet been water sealed or adhered to the bottom pot. The two pots are simply dry fit, but this gives you an idea of the finished look.


The entire reason to water seal the top pot is to keep the roots low. I didn't do this on my first and second generation of ollas, and I found the roots were barely below the surface. Unless the olla was topped off all the time, these top residing roots would dry out. This didn't seem to be an issue for my basil, but it was for my tomatoes. Tomatoes are water hogs, and they do not like inconsistent watering. With the roots so high, watering wasn't as consistent.

Adding the water sealed top pot as a reservoir, and burying the ollas with 2-3" of the sealed reservoir under the soil surface, the roots would stay lower, and likely not dry out, as the bottom pot would always (in theory) be full as the water level in the reservoir drains into the bottom, unsealed wicking pot.

For the pots I painted white, I also painted some clay coasters white. Before water sealing the coasters, I stamped them with a custom design. My husband always calls my garden "Shangrila". We live in Bend, Oregon, and the numbers at the bottom are the days of the months in which my beloved dogs were born. Jet 8/23, Ty 7/11 and Kindle 7/5. I love things with meaningful content. Here you can see the lid resting over the "fill" hole for the olla, which is simply the drain hole of the pot...


Wednesday, August 26, 2020

Ollas for the garden - part one

As time has progressed in my gardening journey, I find I am most happy with a closed gardening system, where everything is in a container of some kind, with a subterranean watering process using ollas. Not familiar with olla irrigation? It's essentially an unglazed, porous vessel filled with water, buried underground that releases water into the surrounding soil. They can be purchased, but are extremely expensive. I made mine for about $8, including the paint and sealant.

Here is how Wikipedia describes olla watering action:

"When the soil around the olla is dry, the soil pulls the water through the porous wall of the olla, and into the soil - the tension is between the wet and dry - thus providing water for the roots. When the soil is wet from rain, or has not dried out yet, there is no tension and the water is not pulled through the wall of the olla."

I learned a lot with my first olla design...that's code for "I made a few mistakes". I have endeavored to correct those mistakes in my new design. Before I get into what I learned, here are my first and second generation ollas.

The first generation was super simple. Just a pot set into the soil near the plant, with the saucer used as a lid to reduce evaporation and keep pests away. While it turned out to be too small for the size the tomatoes would eventually reach, it proved to me this was a viable and efficient method of watering. The roots found the water source, and wrapped themselves around it, drawing out the water they needed.


My mistakes were plenty in the first generation ollas, but I do not plan to be defeated, hence the second, and now the third generation designs. I succeeded in growing tomatoes with this irrigation method, even though I started late, so while the mistakes were plenty, the news wasn't all bad.

Now, the mistakes.

The first mistake I made was putting some of my tomatoes in terra-cotta pots. While terra-cotta pots are a great vessel for most plants, they dry out far too fast, and I couldn't keep enough water in the ollas to keep the plants happy. I had to do supplemental watering. It worked, it just meant I had to water more often, and it meant the watering for the roots in the ollas was inconsistent - not my goal, and not the hallmark of an olla.

The second mistake I made was using too small of an olla. Tomatoes are water hogs. My small ollas couldn't keep up, so they suffered from some blossom end rot. Once I started the supplemental watering, things improved dramatically. While this hurt the tomatoes, which needed much more water than my small ollas could provide, my basil was happy as a clam in its planter - this was the second generation design.

In this design, I glued the bottom saucer to the top of the pot, then turned the entire thing upside down to bury it. The drain hole was my water refill port. I used a glass wine cork to plug the hole and keep the pests out. This design was functional and great looking. The glass cork made the whole thing look a little whimsical...maybe a little glam, too.

This olla watered the basil planter sufficiently. It needed no supplemental watering. It lead to the happiest, healthiest and most robust crop of basil I have ever grown - it grew faster than I could use it. The kind of problem I have dreamed about!

My basil planter had another advantage, which helped the yield. Because it was a closed system, with no drain holes in the planter (they aren't needed with ollas), I was able to keep the earwigs from snacking on my basil. I'd read earwigs won't cross vaseline, so I put that to the test. I smeared a 1" ribbon of vaseline around the top outer edge of the basil planter. It worked like a charm. Not even one munch hole from an earwig. Score one for farmer Leslie.

Back to the last of my mistakes...

The third and final mistake I made was not getting the wicking part of the olla far enough underground for my tomatoes, which have deeper roots than the basil. My new design addresses this with a water sealed top that acts as a reservoir for the unglazed bottom, which will put the water not higher than about 4" from the soil surface. This should help quite a bit.

Enter the third generation design.

As you can see, the design is two terra-cotta pots, the top one upside down, sitting atop the bottom pot. The top will be completely water sealed - it will act as a kind of reservoir, funneling water down to the lower pot, as the water level lowers, and I'll refill it through the upturned drain hole, just like I do with the olla in the basil planter.

The wicking action is cool. I filled the unglazed pot just to show you how the water wicks out. The drier the soil, the more water the plant pulls from the olla, so the plant will get just what it needs.


Before I water seal these, I took the opportunity to paint them, and (soon) add a little custom decor - more on that later. The bottom pot will remain unglazed, and will be the wicking part of the olla.

Part two I'll cover the custom decor, sealing of the top pot, how I adhere them together, and how deep I plan to bury these.

Now, next year at this time, I may determine I need to tweak the designs more, but given the success of my basil, and what I learned from my first and second generation designs, I am feeling confident enough to bet my 2021 crops on these. Here's to hope.

Thursday, August 20, 2020

Get in my belly...


I love basil like few other things. If I'd had a child, it would have been green, with basil shaped ears. I just love the stuff.

I fell hard for basil when I discovered pesto *many* years ago. back then, we weren't real flush with cash, and we couldn't afford the extravagance of pine nuts, so I used walnuts, and when they were on sale, I used pecans. Even though those early versions lacked the creaminess of pine nuts, it was enough to make me happy. After all, it was the flavor of basil and garlic and were the real hook for me.


When we had our first garden, I wanted to grow basil, but I struggled. Cold weather, pests and rookie mistakes combined to make for less than ideal results. This year, I focused my efforts on slaying those dragons, and I grew a bumper crop. It's still growing, as a matter of fact. I'm hoping for another batch of pesto in a few weeks before the overnight temperatures kill the last of my green friend. Then again, this last pruning was so severe, I may have killed it already. I'll plant more next year. A lot more.

Pesto is one of the easiest things to make, and it packs a punch. I pluck the leaves off the stems, and go right into the food processor with them. Sea salt flakes, fresh ground black pepper, a lot of garlic, generous handfuls of pine nuts, shredded parmesan cheese, or asiago and enough good quality olive oil to bring it together, and, viola, pesto! I don't use a recipe. I just add stuff, and test taste it until it makes me happy. There is no screwing up pesto, in my opinion. The only way to screw up pesto is to not make it.


Once you have it, what can you do with it? Lots of things. Scoop some into fresh cooked and drained pasta. Add enough pasta water to help it spread evenly through your noodles, top with shredded parmesan, and gobble it up.


Try toasting a bagel, top with a little cream cheese, and a small smear of pesto.

How about caprese salad? Thin slices of fresh mozzarella, fresh tomato slices, and a scoop of pesto swirled with olive oil...dot the top of your mozzarella and tomatoes for the freshest salad in all of summer-time land!

Try pesto deviled eggs. Cut your mayonnaise by half, and add that half back in in the form of pesto.

Mix a little pesto with a couple tablespoons of cream cheese, and scramble it with eggs. It's creamy deliciousness.


To store it, press plastic wrap over the top, add a lid, and refrigerate for 1-2 days. Longer than that, and it will start to brown. You can always add a sprinkle of ascorbic acid to the pesto to slow the browning process, but I've not had to do that. I've frozen it with great results. Just drizzle about 1/4" good quality olive oil over the top of the prepared pesto (this minimizes browning by creating a sort of seal to keep the air from reaching the pesto), pop a lid on the container, and into the freezer. I've kept it as long as a month, not because it went bad, but because I used it up.


The possibilities are endless.